Today I’m going to show you just how easy it is to convert your Razer chroma devices into an audio visualizer is and why it’s well worth the minimal effort. I have outlined all of the steps into an easy to follow guide. Let’s get started!
What is Razer Chroma Visualizer?
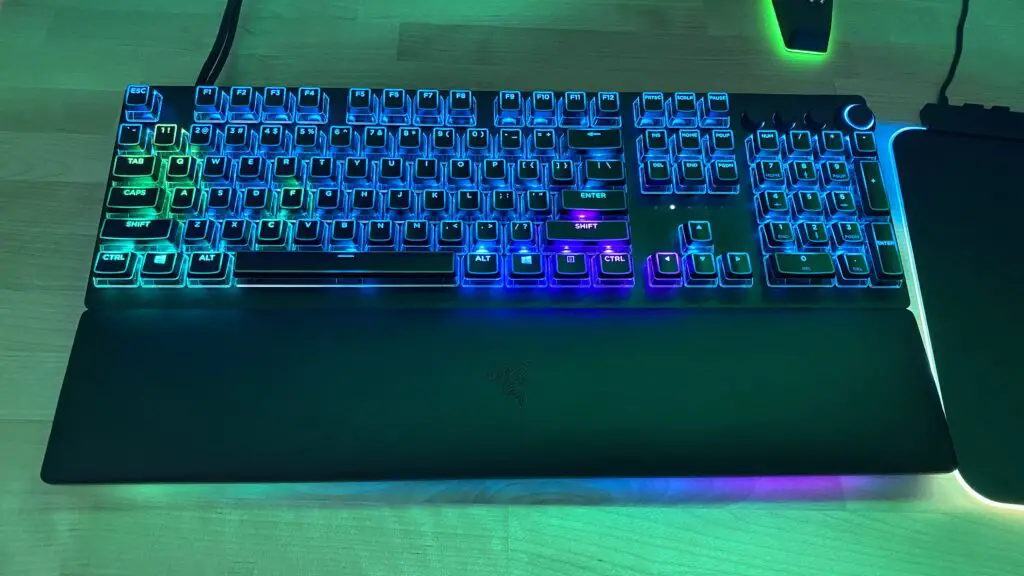
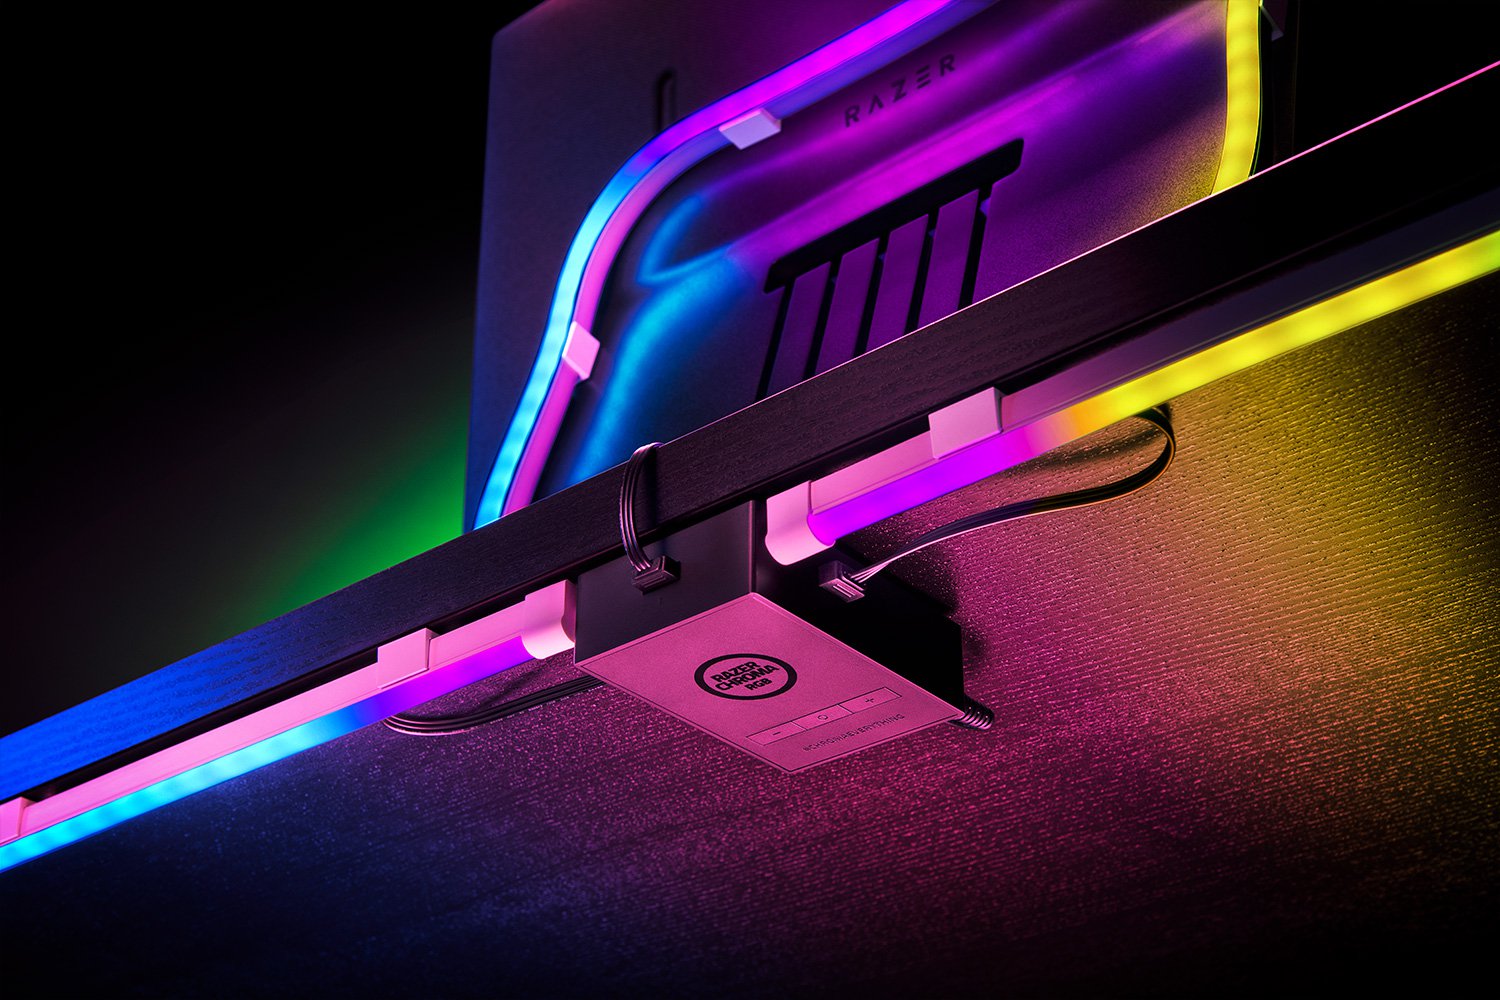
The Audio visualizer turns your Razer Chroma RGB devices into an audio responsive display. This enables the devices lighting to react with the beats of the music or audio that is being played.
Completing the steps below will have your RGB set-up looking like DJ Suki’s next dance studio.

Unlike Razer’s previous audio visualizer integration method, which required 3rd party software. We will be able to do everything from the Razer Synapse software and cut down additional downloads
How do I get Razer Audio Visualizer?
Step 1: Make sure you have the Razer Synapse software installed on your computer. If you don’t have the software installed, here is the download link
Step 2: Within the Synapse software install Razer’s “Chroma Connect” module. Synapse > Modules > Chroma Connect
*NOTE: The Synapse software will need to restart when installing the Chroma Connect & Chroma Visualizer. For me, this didn’t require a PC restart.*
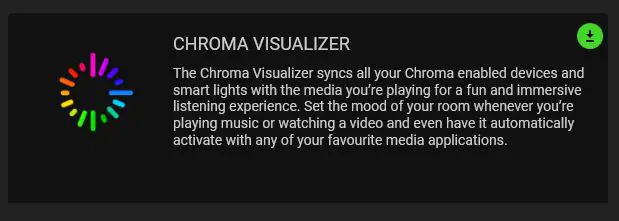
Step 3: Next, install Razer’s “Chroma Visualizer” module. Synapse > Modules > Chroma Visualizer
Step 4: On your Synapse window options you should now have a tab at the top called “Visualizer”. Within the visualizer tab you will need to click the drop down under “Chroma Visualizer” and choose either Always on or Enable for selected apps.
You can select the option to choose which playback device you want the visualizer to react to. This is a really convenient option if you use audio interfaces like the Go XLR mini and you only want device lighting to react to music and not game sound.
How to use Razer Audio Visualizer
Razer provides a ton of customizable options with their Chroma Visualizer application. This makes it possible for those users that have color specific setups to be able to color match their lighting. Whatever you decide to do is the visualizer settings, the devices are your canvas and you are the painter.
Preview
Enable this option if you would like a visual representation of your visualizer display settings
Visualization
This is the foreground of your visualizer display and this setting will adjust what the audio beats looks like. There are options to customize the effects (create a specific gradient) or use one of the standard effects. The standard effects are spectrum cycling, static, wave, and wheel.
There is an additional option to adjust the brightness level of the foreground display.
Background
The background option will allow you to create a background layer. Customize this layer, or use one of the standard effects. The standard effect options are spectrum cycling, static, wave, and wheel. You may turn this layer off completely if you choose.
There is an option to make the background reactive. You can check this box or leave it unchecked for a non reactive background layer
Adjust the brightness of this layer to your liking.
Properties
In the properties layer you can adjust the decay settings (this is how quickly the audio spikes rise and fall) for a smoother display experience you want this to be slower.
You can adjust the scale (this pertains to how much the beat reacts.) However, you may have to adjust the scale depending on the volume setting on the software that is playing music.
Troubleshooting

Why is my visualizer not working?
There are several reasons the chroma visualizer may not be working properly.
- The volume setting on the software that is playing music is too low. Make sure to check that the volume on the music software is loud enough for the program to recognize the audio input. If the audio is too loud for your taste, adjust the master volume level on your desktop system tray.
- The Chroma visualizer playback device is not set to the proper device. Ensure that you have the playback device set to the device that is playing audio.
- Ensure that the visualizer application is enabled under the connect tab in the Synapse software.
Let me know if you have any issues down below in the comment section. I do my best to respond to each and every comment. I have additional tutorials and videos on using the Razer Synapse program. If you want to dive deeper into the world of RGB make sure you check those out.
Follow UnrealHero

If you’re a fan of RGB then you might consider following for my latest content on these platforms


Using a different keyboard? Watch this video to learn how to expand a keyboard lighting design onto other keys as well as other devices!
Want more Cool Razer Chroma Profiles? Check out my Profile Gallery

Join our Chroma Profiles community on Reddit or Discord! There are thousands of members sharing ideas, tips, and even more Chroma Profiles.
binance signup
Thursday 27th of March 2025
Thanks for sharing. I read many of your blog posts, cool, your blog is very good. https://www.binance.com/pt-PT/join?ref=DB40ITMB
Iscriviti per ottenere 100 USDT
Sunday 12th of January 2025
Thank you for your sharing. I am worried that I lack creative ideas. It is your article that makes me full of hope. Thank you. But, I have a question, can you help me?
free binance account
Tuesday 17th of December 2024
Thanks for sharing. I read many of your blog posts, cool, your blog is very good. https://accounts.binance.com/en/register?ref=JHQQKNKN
binance
Monday 18th of March 2024
Thanks for sharing. I read many of your blog posts, cool, your blog is very good.
Yeelight With Razer Chroma RGB - UnrealHero
Tuesday 5th of October 2021
[…] more information on the Chroma Visualizer check out my dedicated post on the visualizer […]