I’m often asked on my Discord or YouTube channel, “What is the Razer Chroma Addressable RGB Controller”? When I was researching hardware options for my Razer Chroma PC build this device was an absolute must have.
The Razer Chroma addressable RGB controller is a HUB device used to control a PC’s internal RGB hardware via a standard 3-pin 5V connection. It allows up to 6 ARGB devices with the 3-pin 5V connection to be customized with Razer’s Chroma software. Lets look into what devices this HUB can control and it’s capabilities.
Before I picked up my Razer Chroma ARGB controller there were many questions I had about the device. Below I will discuss some of these topics so that I can help answer any questions one might have about this product.
- Is Razer’s Chroma controller worth buying?
- How does the controller work?
- What devices can be used with it?
- Where can I buy the Controller?
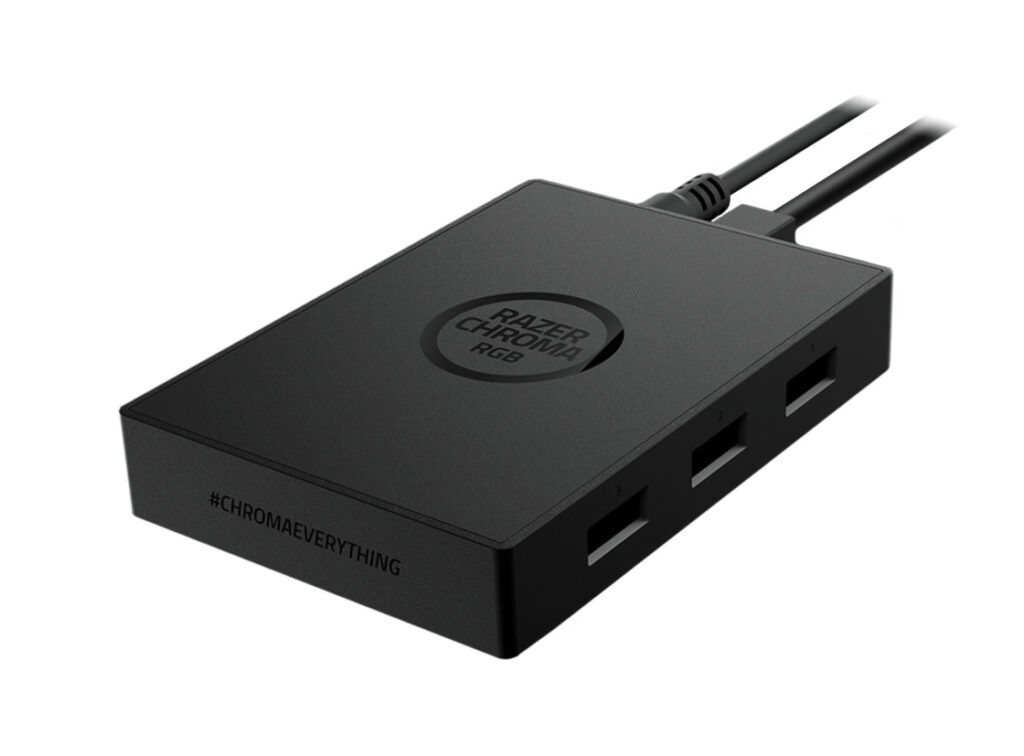
Is the Razer Chroma addressable RGB controller worth buying?
If you are a person that cares about how the RGB looks on your gaming setup, then 100% YES, the Chroma controller is worth buying. The Razer Synapse software is loaded with ton of features that go beyond just picking the lighting color you want.
Razer Synapse Studio
I’d have to say, hands down, that the best feature about using this RGB controller is that it gives you per-LED customization in Razer Synapse Studio. That means each individual LED bulb on your RGB devices can be assigned its own color or Razer Chroma effect.
Note: Some 3rd party RGB devices can be controlled using Razer's Chroma software without their RGB controller via 3rd party software. However, it requires additional programs to be running on your PC. It also doesn't allow per-LED customization, therefore, all of the LEDs on the devices can only be one color at a time.
Razer has 9 different Chroma RGB effects that can be used on the devices plugged into the Chroma controller. These effects include my personal favorite, the Wave effect, but also Static, Breathing, Starlight, Ripple and other great visual effects. Examples of these RGB lighting effects can be found on Razer’s website.
Streamer Benefits
I found through my own personal experiments that, with their ARGB controller, you can also take advantage of other Razer RGB Software. Such as their Streamer Companion app.
I find this to be extremely useful as a Streamer because I can have the RGB in my PC case react to events on stream. I am able to have specific RGB effects display anytime I receive followers, subscribers, donations and even when someone leaves a message in my chat.
I could also see how viewers would really enjoys this feature as with if your PC tower is visible in your camera.
Audio Visualizer
I am also able to take advantage of Razer’s Audio Visualizer module. There’s just something satisfying about having the PC tower RGB reacting to audio being played. This visualizer is also fully customizable with colors and visual properties.
How does the Razer Chroma controller work?
If one of the questions on your mind is “How does Razer’s ARGB controller work?” then you are one of many. The Razer RGB controller first is installed into your PC tower. After the installation, you will then need to download and utilize the Synapse 3 software to control the lighting on your RGB devices.
Installing the Razer Chroma Controller
The controller comes with 2 cables which need to be connected to your PC. The controller is plugged into and powered from a 4pin peripheral cable which extends from your PC’s power supply. The other cable is used to control the RGB and connects from the Chroma controller(USB type C) directly into your PC motherboards USB pin header.
There are essentially 3 ways I found that you can mount or place the controller in your PC case:
Not mounted – The Chroma controller is manufactured with a non-slip rubber surface on the bottom side of the unit. Therefore, if you have the space available inside your case it can just be set flat on a surface. This is the best option if you don’t have an available hard drive bay to mount the unit or too many cables in your cable management bay.
Adhesive Strips – The Chroma controller comes with two 3M adhesive strips in the box. The strips can be used to mount the unit inside the cable bay of your PC case anywhere the you have an available flat surface space. This will probably be your best option if you don’t have an available hard drive storage bay and you want to keep the unit hidden.
Hard Drive Mount – Razer was witty enough to make the Chroma controller pretty much the same size as a 2.5″ hard drive and include the mounting positions for standard mounting screws. This is the option that I go with in my Razer Tomahawk ATX case. Using a hard drive mounting slot is the best option in my opinion because it’s secure and they’re typically in a position that easily accesses the lighting devices in your case.
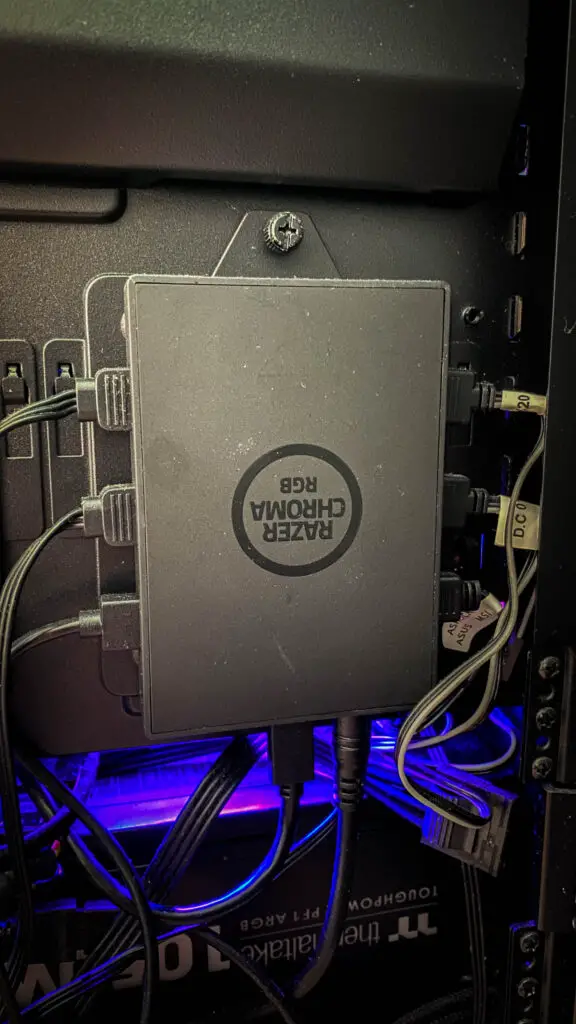
By now you have the Razer Chroma controller physically installed in your PC. Now, you’re going to need to install the Razer Synapse 3 software that’s used to customize the RGB.
Follow these steps to customize the lighting on the Razer Chroma controller
I have found through countless hours of fiddling around that the Synapse 3 software can be a little tricky to navigate. So if you’re just opening Synapse 3 for the first time or you’re having trouble figuring out how to customize the lighting on your new RGB controller, you’re going to want to follow these steps:
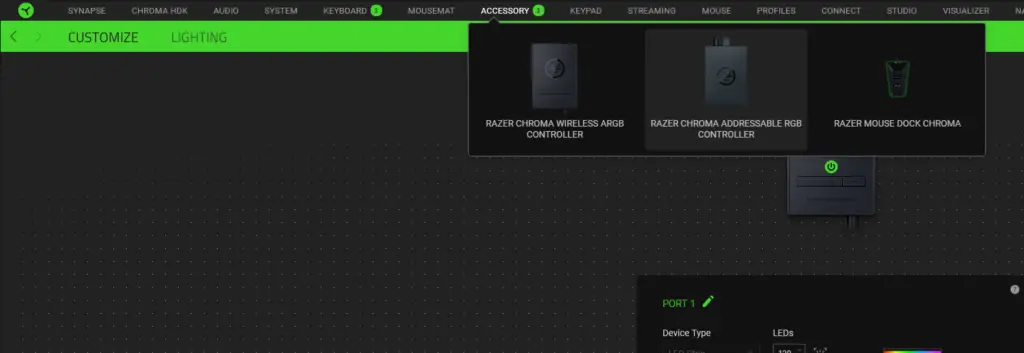
- Navigate to the Accessories tab within synapse and select the “Razer Chroma Addressable RGB Controller”
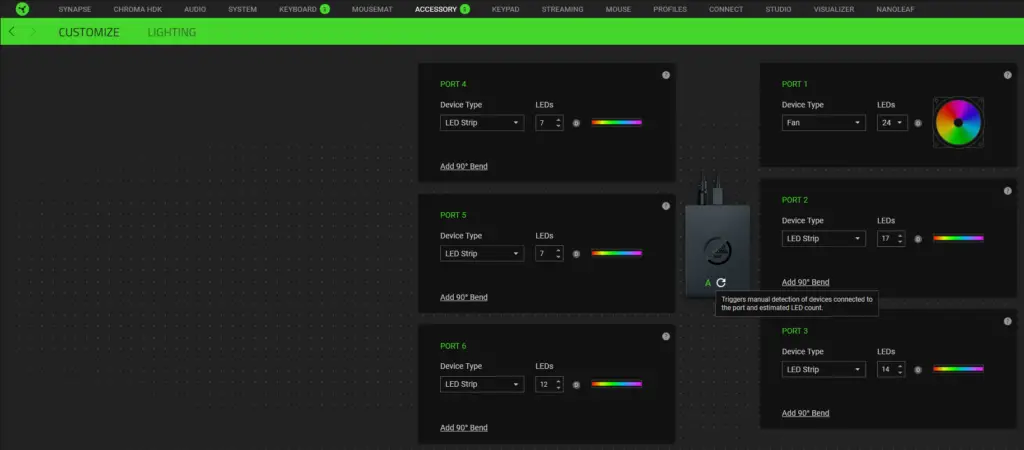
2. Now here it defaults you to the Customize tab where you have the ability to make manual adjustments to each port being used on the RGB controller. However, I’ve found that Razer’s built-in detection feature does a great job of guessing the settings you should be using. So I highly recommend you click this circle icon to detect your devices and move on to the next step.
Note: You may need to make some manual adjustments if you think the RGB is not looking how it should.
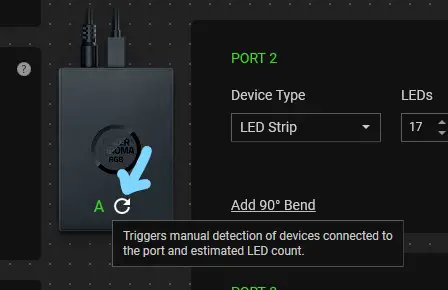
3. You can begin customizing your RGB by clicking on the Lighting tab. This window here is where you’re going to want to go if you’re just looking to apply basic Razer Chroma “quick effects” with some limited custom options such as color and select properties.

Although, if you really want to put your customization skills to the test then you’re going to want to install the Studio module from the Synapse tab and start experimenting with advanced effects. This is where you get into the per-LED customization and that’s when you really find yourself a few levels down the rabbit hole.
What type of RGB devices can I use with the Razer Chroma controller?
So even though this ARGB controller is a Razer product, it does not mean that you can only use it with other Razer products. This could be the only piece of Razer hardware that you own and you can still use the controller to its full potential.
As I stated toward the beginning of this post it requires a 3pin 5V connection and that’s it. The vast majority of internal RGB devices(that are not directly inserted into the motherboard) are controlled via a 3pin 5V ARGB connection. This encompasses most case fans, CPU coolers, RGB cabling such as the Lian Li Strimer Plus cables, hard drives and much more.
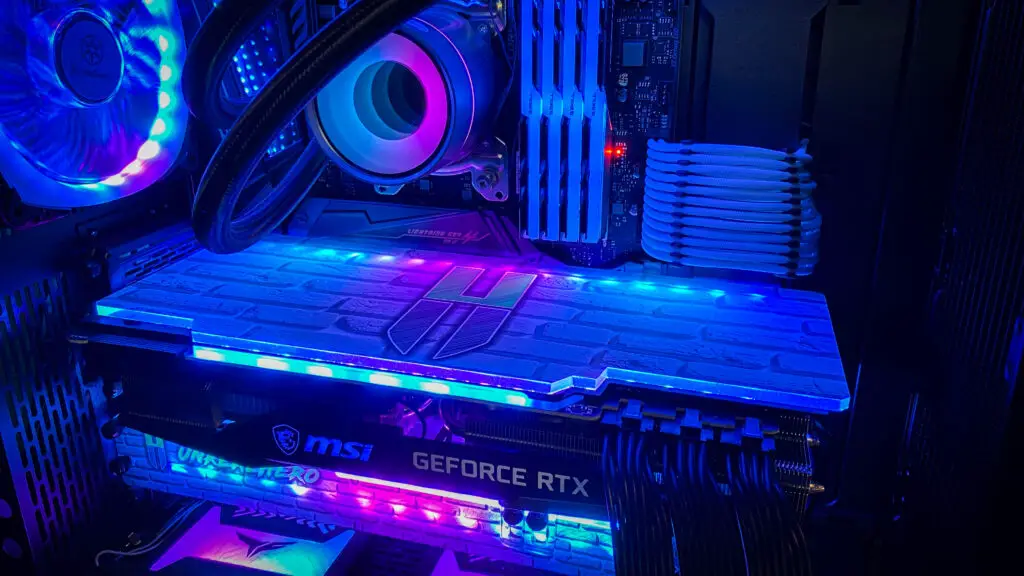
I have to say that my favorite internal device has to be my custom ARGB backplate made from the guys at V1tech. It comes with a 3pin 5V cable and is a large statement piece inside inside my case.
Where can I buy the Razer Chroma addressable RGB controller?
Back when the controller was first released it was exclusive to the Razer.com Store which was the only place it could be found. But these days you can also find it available on Amazon. At the time of writing this both places have it for the same price of $39.99 USD. Which is a very affordable price considering the cost of building a PC these days.
Follow UnrealHero

If you’re a fan of RGB then you might consider following for my latest content on these platforms


binance Code
Saturday 19th of April 2025
Your point of view caught my eye and was very interesting. Thanks. I have a question for you.
binance
Friday 28th of February 2025
Your article helped me a lot, is there any more related content? Thanks!
influencersginewuld
Monday 27th of January 2025
I do trust all the ideas youve presented in your post They are really convincing and will definitely work Nonetheless the posts are too short for newbies May just you please lengthen them a bit from next time Thank you for the post
create binance account
Friday 10th of January 2025
I don't think the title of your article matches the content lol. Just kidding, mainly because I had some doubts after reading the article.
influencersginewuld
Monday 30th of December 2024
I was recommended this website by my cousin I am not sure whether this post is written by him as nobody else know such detailed about my difficulty You are wonderful Thanks